|

|
INSTALLATION GUIDE
Neatmatch - Installing on an uneven wall
|
To Uneven Walls
This collection of pictures shows
the batten method of fixing Neatmatch wall panelling to an
uneven surface. In this instance the surface was uneven brickwork. |
 1 1
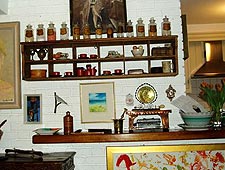
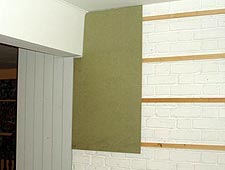
The wall which must be
covered with Neatmatch is face painted brickwork from the
1970s.
|
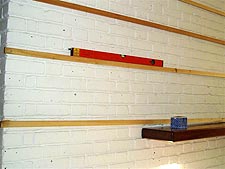 2 2
Wooden battens (40x15mm) about
450mm apart are screwed to the wall. |
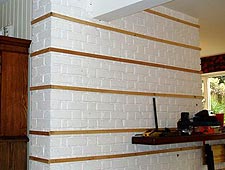 3 3
and extended round the corner.
|
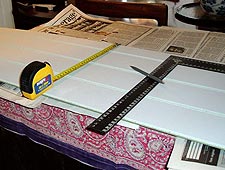 4 4
Neatmatch sheets are measured –
measure twice and cut once! |
 5 5
And cut with a panel saw, which
is better than a jig-saw for straight cuts. |
 6 6
The first sheet must be vertical,
because it is the guide for all subsequent sheets. |
 7 7
Each sheet is secured to the battens
with wood screws. All sheets should be separated by approximately
1mm to allow them to expand.
|
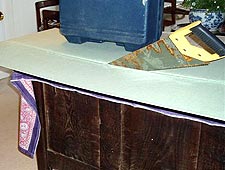
 8 8
Why not make a template with an
off-cut to guide you in a difficult zone…
|
 9 9
to achieve this result.
|
 10 10
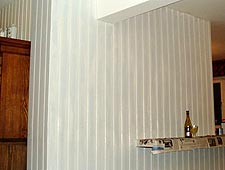
The gaps between the sheets of
Neatmatch should be filled with a flexible filler before you
start to paint.
|
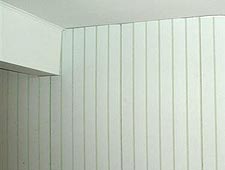
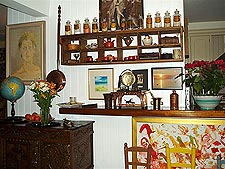 11 11
The result!
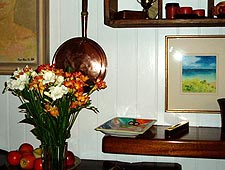
And close up.
|
|
